
Welcome to UKTV

Who we are
Learn about UKTV and what we do.
Latest News
Find out about our latest news and exciting initiatives.

07.05.25
U&GOLD commissions feature-length documentary celebrating the life of Victoria Wood
The 90-minute film will be produced by BAFTA-winning Rogan Productions, in association with Phil McI...
30.04.25
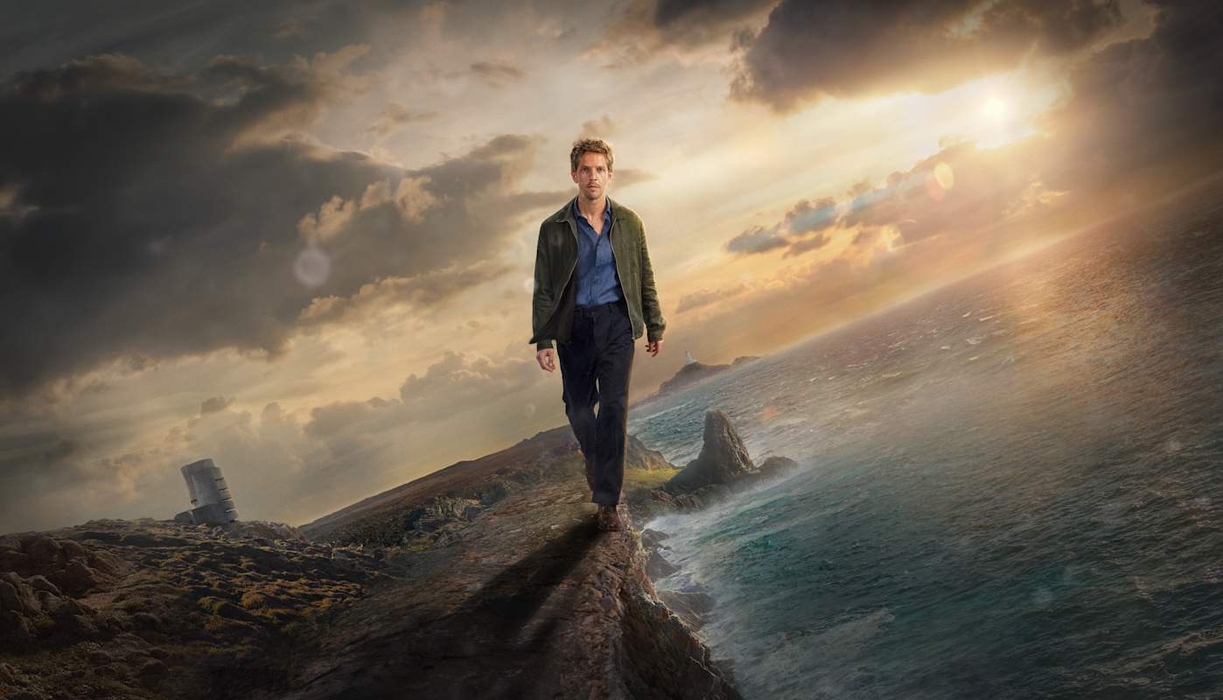
Re-imagined series of Bergerac set to return to U and U&DRAMA in 2026
Damien Molony will head back to Jersey for a second series of Bergerac, written by Toby Whithouse al...
29.04.25
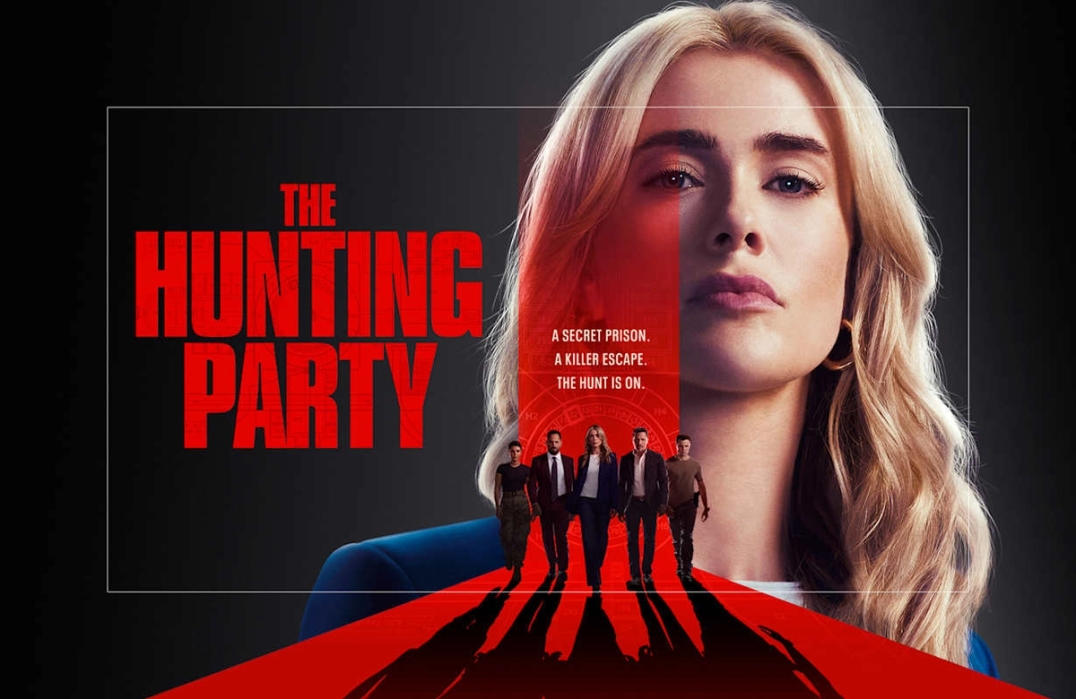
UKTV acquires UK premiers of The Hunting Party and Allegiance in deal with NBCUniversal Global TV Distribution
UKTV has acquired the UK premiers of The Hunting Party, the new hit crime procedural which debuted o...

25.04.25
Hit DOG-umentary Pete Wicks: For Dogs’ Sake is recommissioned by U&W for two more series, plus a Christmas special!
Pete Wicks: For Dogs’ Sake is recommissioned by U&W
24.04.25
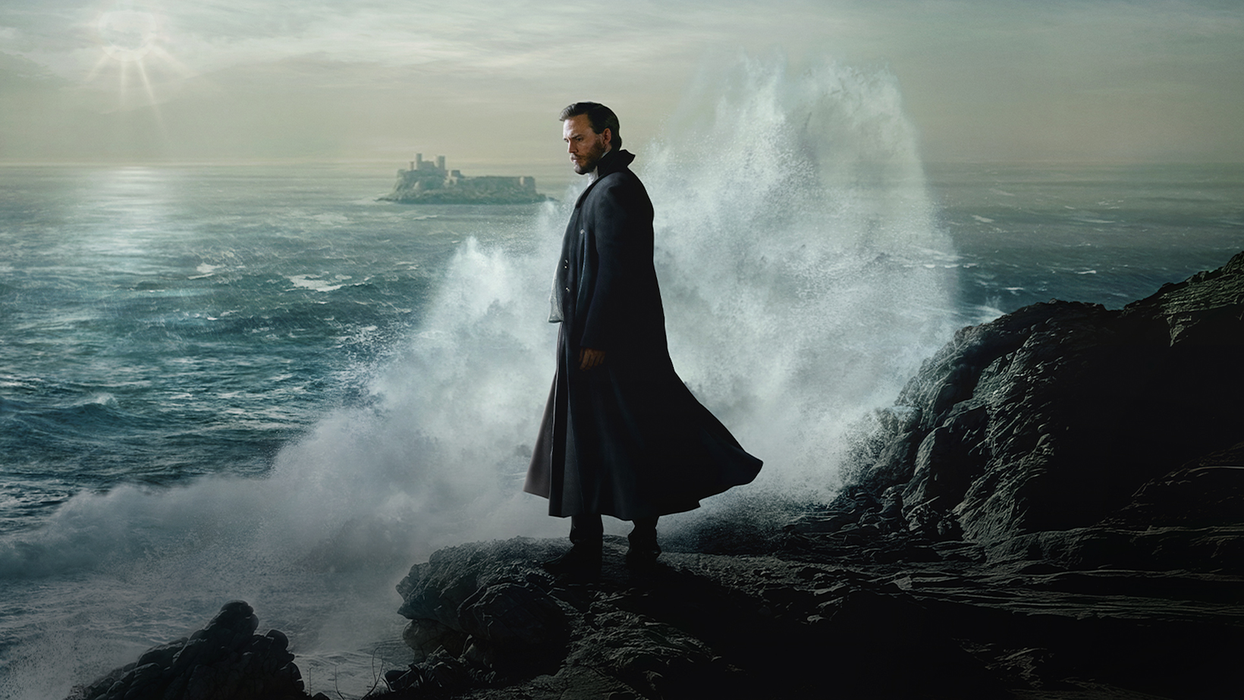
The Count of Monte Cristo, starring Sam Claflin and Jeremy Irons, to premiere in the UK on U and U&DRAMA
The eight-part miniseries will be available this Summer
22.04.25
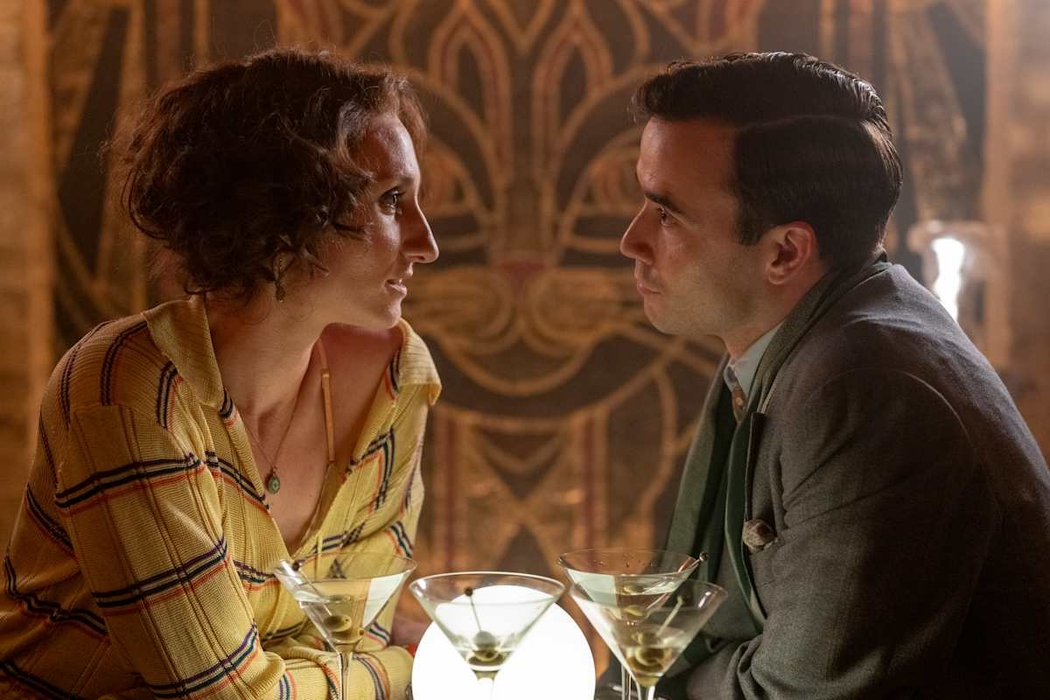
New images released for upcoming Mitford sisters drama, Outrageous
Outrageous will be available on U and U&DRAMA from 19th June
07.04.25
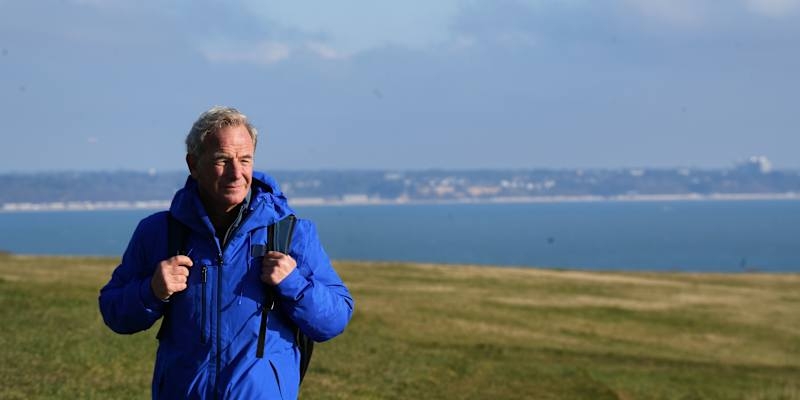
Robson Green takes viewers on the World’s Most Amazing Walks in new series for U&YESTERDAY
New series from BBC Studios Specialist Factual Productions will see the presenter, actor and keen ra...